A Trading Strategy Using MACD Fibonacci and Moving Averages
Post on: 27 Июнь, 2015 No Comment
In todays article, we will go through an intraday trading strategy involving the use of the MACD indicator, the Fibonacci Retracement tool and two moving averages. Depending on the traders skill, two extra moving averages can also be added to the strategy. This is a trading strategy done wholly with default indicators. We will now demonstrate how to use these indicators together to work out a simple forex strategy.
Indicators
The following indicators are used for this strategy, and customization of the settings is done as follows:
- MACD (12, 26, 9)
- Fibonacci Retracement tool
- 5 Exponential Moving Average (5 EMA) which we shall set to a yellow colour.
- 15 Simple Moving Average (15 SMA), set to a blue colour.
- 100 Simple Moving Average (100 SMA) set to a red colour.
- 200 Simple Moving Average (200 SMA) set to a white colour.
The use of the 100 SMA and 200 SMA are optional. They are not compulsory components of the trading strategy. In addition, all indicators are used with their default settings.
Strategy Description
Before we go on to the strategy proper, there is a need for us to establish some baseline principles.
One of these principles is that if the price of the currency pair is too close to the 100 SMA or 200 SMA (i.e. within a range of 25 pips), we do not open any positions. This is done irrespective of whether trade conditions are screaming for a trade to be opened or not.
Secondly, the strategy is designed to work best on hourly charts where a candlestick represents the price activity in the markets or on the currency pair for one hour. This makes it suitable for intraday traders, whose trading process involves opening and closing positions within the same trading day.
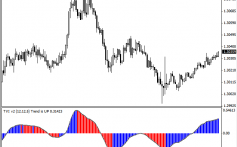
Thirdly, the MACD signal that will be considered for this trade is not the conventional upward or downward movement above or below the zero line. Rather, we will look at the position of the bars of the MACD indicator relative to the MACD signal line (the red dotted line in the MACD indicator window). So if the bars of the MACD indicator are located above the MACD signal line (irrespective of whether the MACD is in positive or negative territory), this would constitute our bullish signal. If the bars of the MACD are located below the signal line (irrespective of whether the MACD is in positive or negative territory), then this indicates a bearish signal for us.
With these principles in place, we can now move on to the core aspects of this trading strategy.
For the strategy proper, it is essential to remember that any trades to be taken must be done at the open of the new candle. Therefore, we must wait for the previous candlestick to close, and then for a new one to open.
Long Trade
When the 5 EMA crosses the 15 SMA in an upward direction and is now located above the 15 EMA, this is a signal to prepare us for a long trade. Then we take a look at the MACD indicator. If the bars of the MACD indicator move above the MACD signal line at the same time that the 5 EMA crosses the 15 SMA to the upside, then we can open a long trade on the asset, and hold the position until a reverse signal (the sell signal situation) occurs.
Short Trade
When the 5 EMA crosses the 15 SMA in a downward direction and is now located below the 15 EMA, this is a signal to prepare us for a short trade. Then we take a look at the MACD indicator. If the bars of the MACD indicator head below the MACD signal line at the same time that the 5 EMA crosses the 15 SMA to the downside, then we can open a short trade on the currency pair, and hold the position until a reverse signal (the buy signal situation) occurs.
Positions must only be opened when the new candle opens, and because the trade is conducted on an hourly chart, the targets and stops are relatively small, perhaps in the order of 50 pips. The trader must use the grid lines on the MT4 chart to ensure that the two signals occur at approximately the same time so as to produce a good signal. This is especially so when thinking of exiting the trade as a result of the opposite signal appearing. This means that if the MACD bars cross below the signal line but the accompanying 5 EMA/15 SMA cross does not occur at the same time, then we leave the position open until the 5 EMA has crossed the 15 SMA. In the same vein, when opening a trade position, the 5 EMA has to have crossed the 15 SMA for the position to be open. If this happens when the MACD bars are already in the right position, then the trade position can be opened.
In essence, the cross of the 5 EMA on the 15 SMA is the essential ingredient used for opening the trade. The MACD bars cross on the signal line is merely used as a confirmatory filter on the trade. But that does not make the cross of the MACD bars on the MACD signal line less significant. Indeed, it helps to prevent fake signals generated on the 5 EMA/15 SMA cross. For instance, there will be times when the 5 EMA will cross the 15 SMA to the upside when the MACD bars are below the MACD signal line, or the 5 EMA crosses the 15 SMA to the downside and the MACD bars are above the MACD signal line. These are fake signal situations and the trades should not be opened when these occur.
Trade Exit Points
We have already said that the appearance of the reverse signal should serve as the trigger for trade exit. This should be done when prices are not very trending.
Now what is the role of the other indicators mentioned in the strategy?
The 100 SMA and 200 SMA are usually located below the price action in an up-trending market. They will therefore make good areas to use to either set stop losses for the long trades, or sometimes, they will serve as further confirmation of long trades if the prices bounce off them, making them act as support to the price action and therefore solid entry points.
If the 100 SMA and 200 SMA are located above the price action (usually in a down trending market), then they will serve as resistance levels and therefore good places to enter short trades from, especially when price action is heavily trending. They can also be used as stop losses when trades are taken based on the 5 EMA/15 SMA cross + MACD bars/MACD signal line cross signals.
The Fibonacci retracement levels can also serve as support and resistance for prices, depending on the price behavior of the asset. It is only rarely that these will be used though, and the trades can be conveniently taken with the other indicators that have been mentioned.
Let us now use charts to demonstrate this strategy.
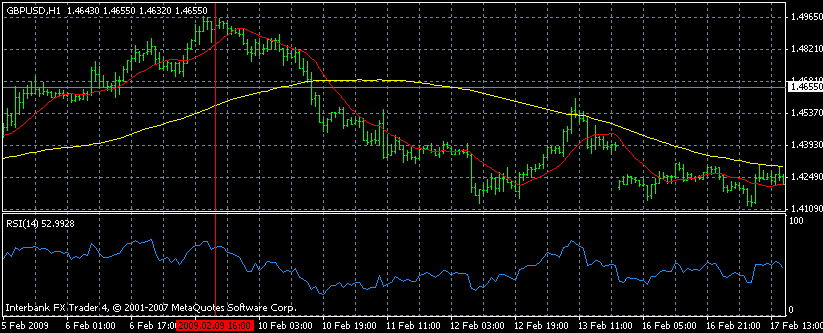
A look at this chart sums up what a trader looking to go bullish on an asset with this strategy can expect to get. There are two trades here which present opportunities to make 25 pips and 68 pips respectively. At the 2 areas marked with blue circles, we can see that the 5 EMA crosses the 15 SMA upwards at the same time that the MACD bars are already above the MACD signal line, which will work to produce good signals. The upper horizontal white lines close to the area where the number of pips per trade is written show areas where a reverse signal occurs, producing an exit point.
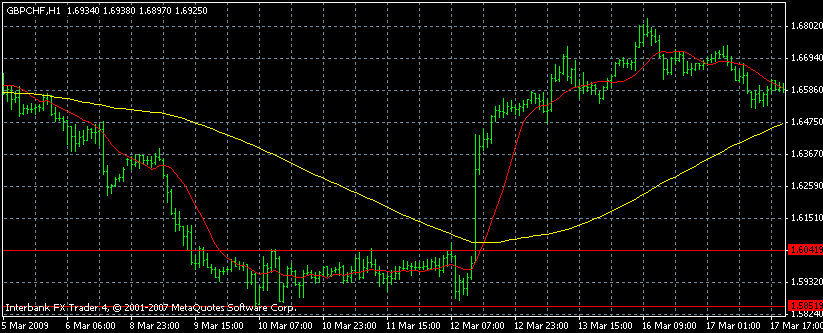
In this trade setup, we show a long trade and a good short trade area, as well as a clear-cut fake signal which occurred because the MACD bars were still located above the MACD red signal line even when the 5 EMA has crossed the 15 SMA to the downside. In the first trade, we see an opportunity that presented 65 pips on the long trade, and a massive 108 pips on a short trade. Study the locations of the MACD bars to the MACD signal line at the same time that the 5 EMA has crossed the 15 SMA in the respective direction.
Conclusion
Practice the trade strategy on a demo account. If you are an intraday trader, then this is another strategy that can be added to your trading arsenal. Download the MT4 from Forex4you and play around with the indicators as you wish.
Attention!
The author’s views are entirely his or her own.


